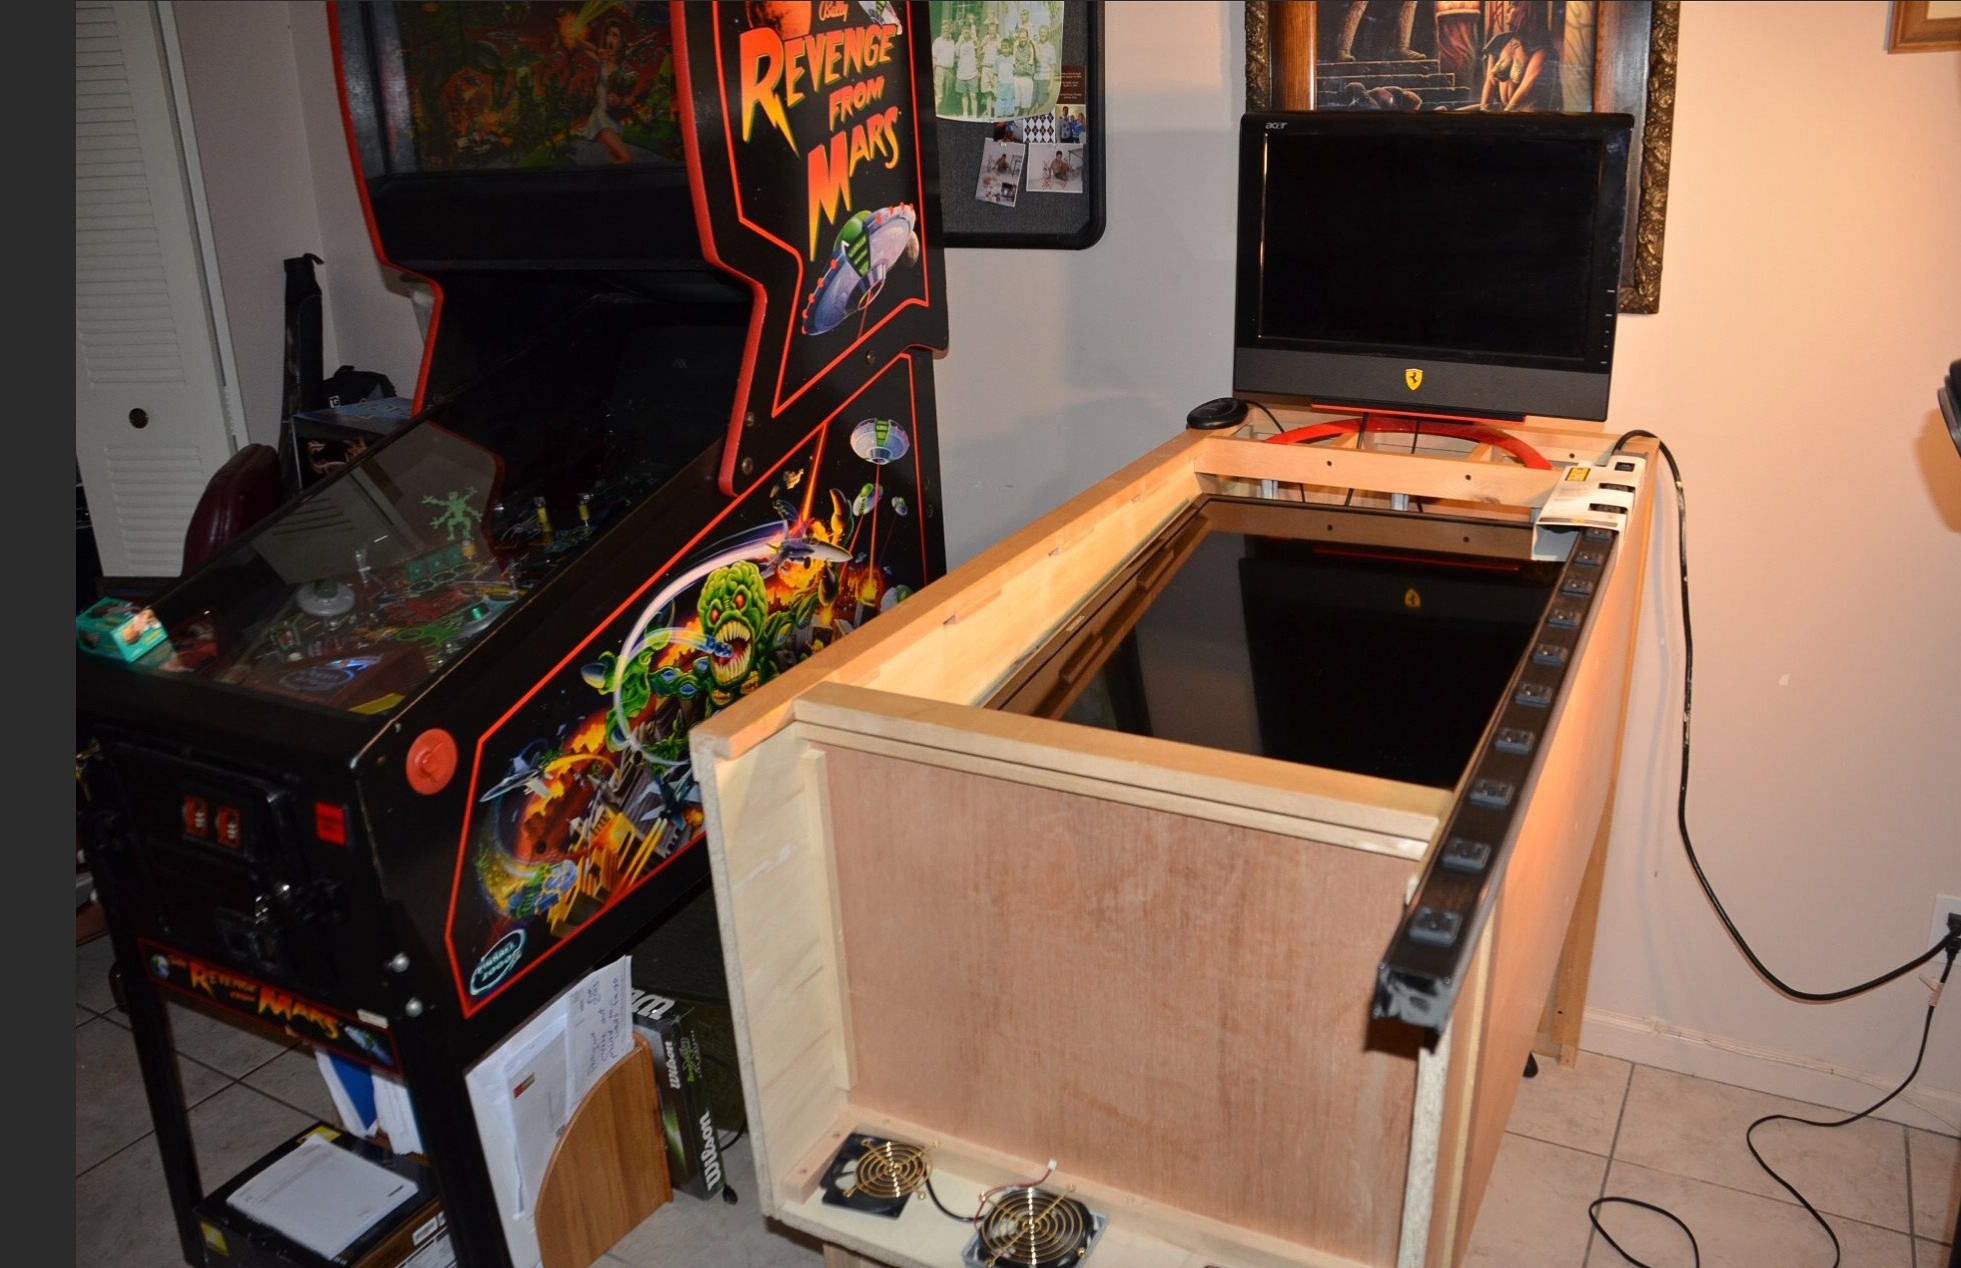
So the prototype is done! It came out great!
https://www.youtube.com/watch?v=lbiKvkoEAHE
And I have three orders, yes three legit orders! I need to find someone who can help build the cabinets!
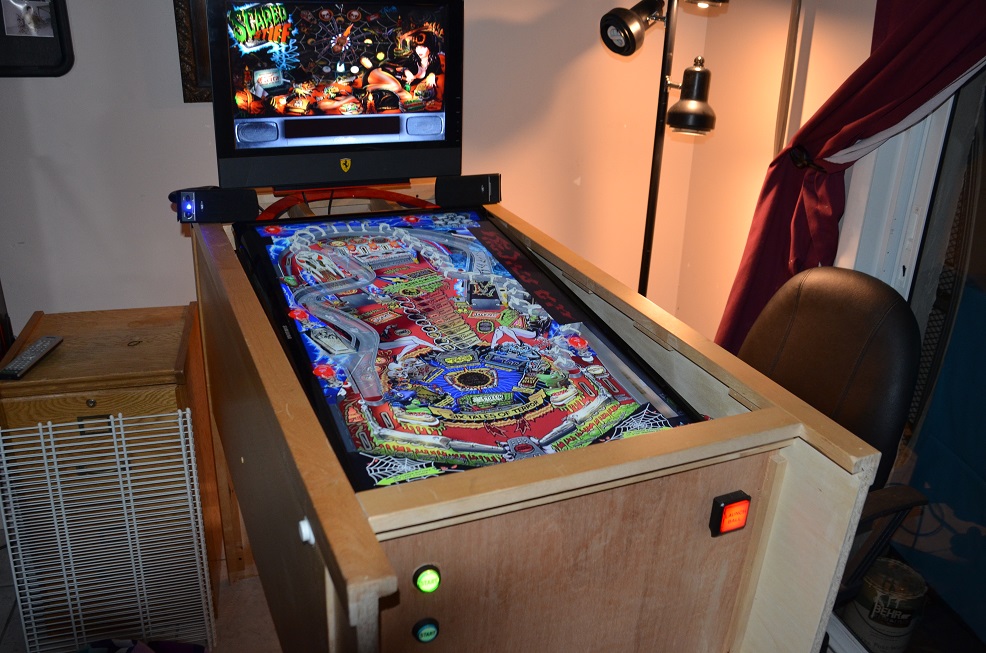
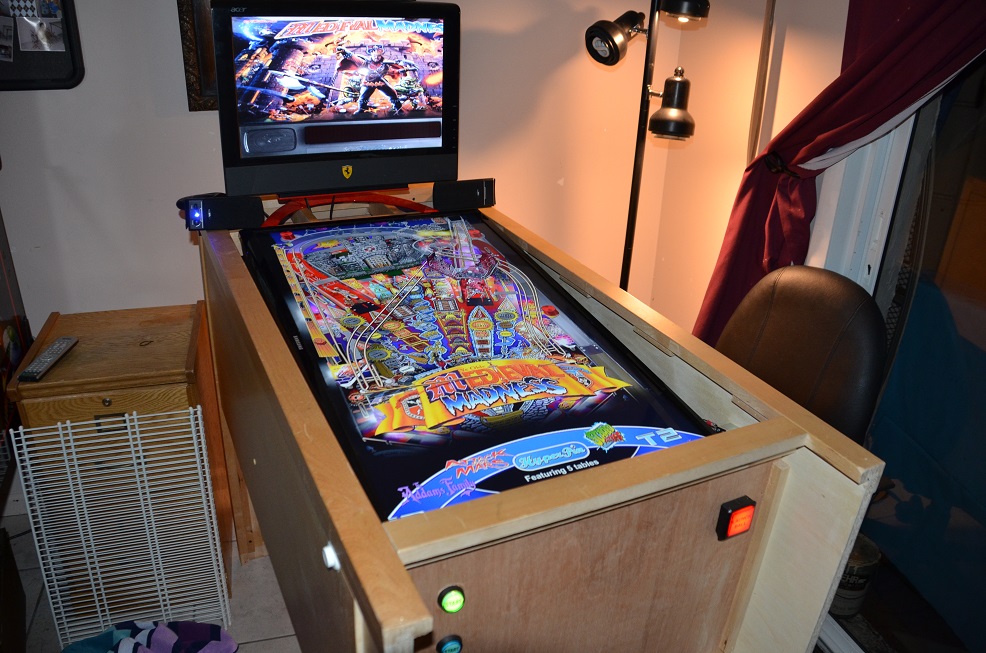
Got the flipper buttons drilled and set everything up to the I-pac2 controller. I was not able to use the light up flipper buttons due to the width of the cabinet sides was too thick. But the normal white leaf switch buttons look good.
I setup four good tables:
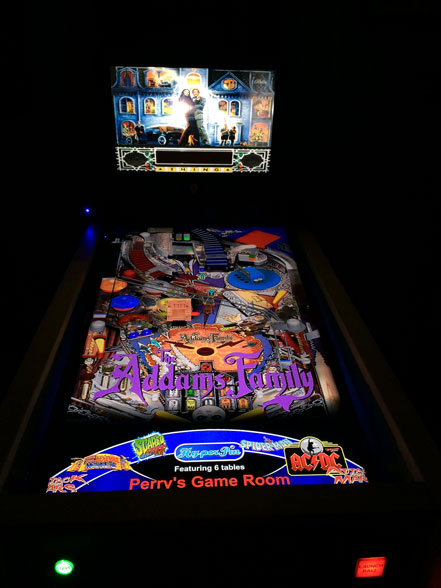
Addams Family
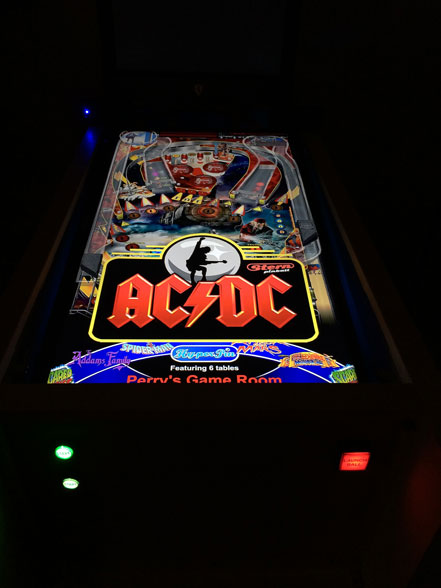
ACDC
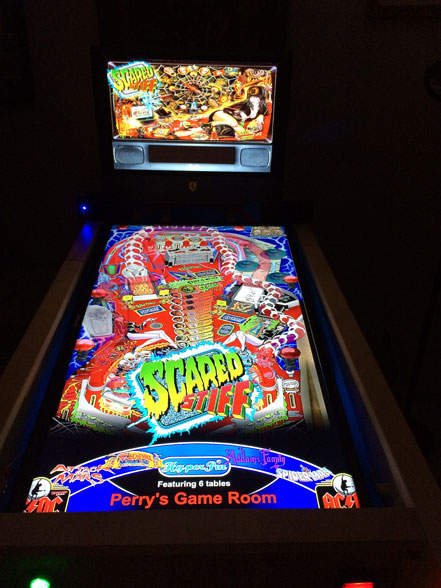
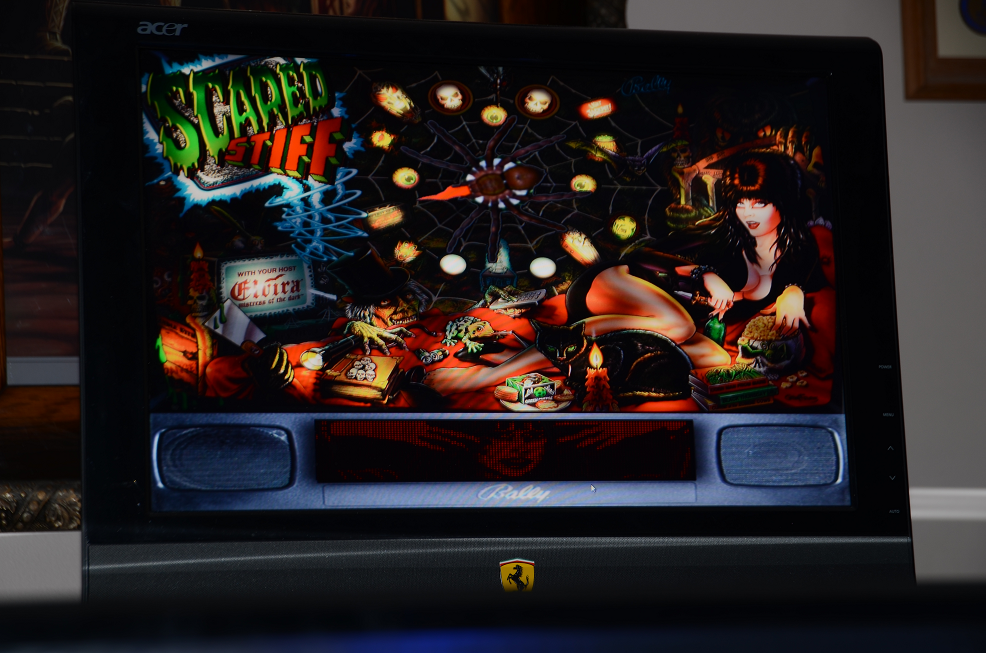
Scared Stiff - Elvira
And
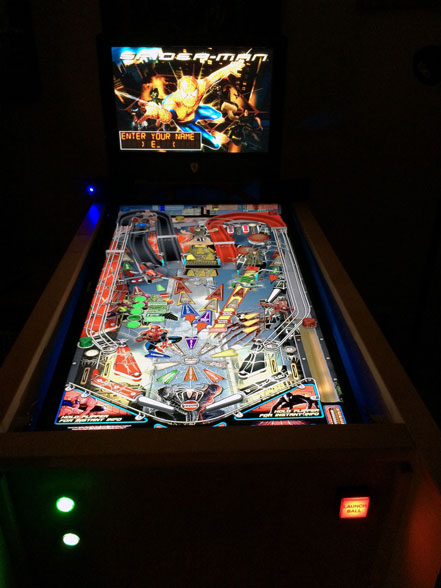
Spiderman
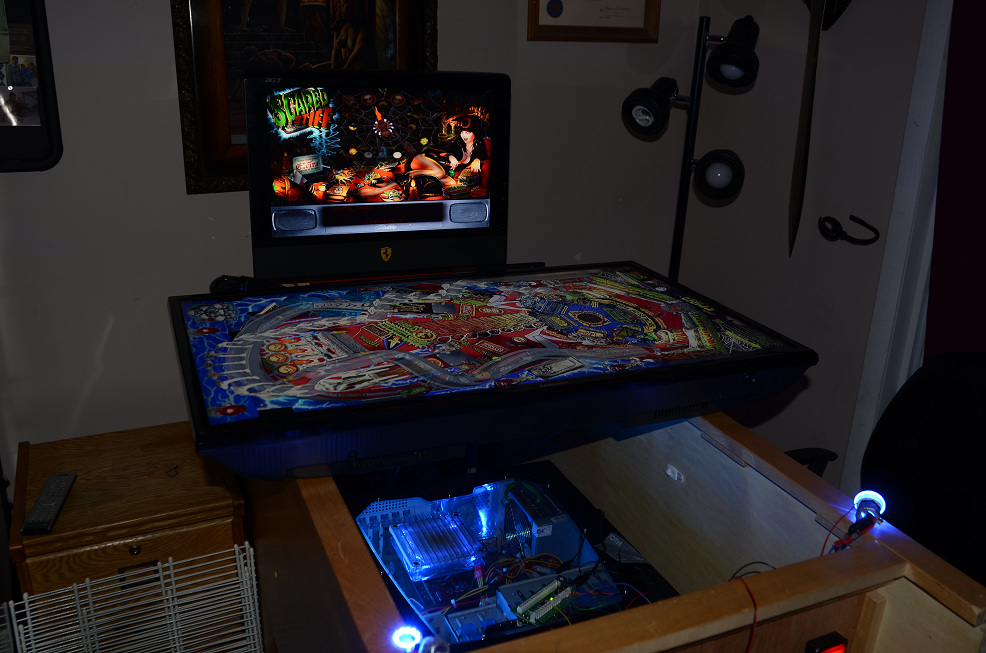
Scared Stiff - Elvira
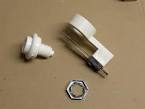
New flippers (white) longer but not clear for led lights.
The new leaf switch against my homemade microswitch.
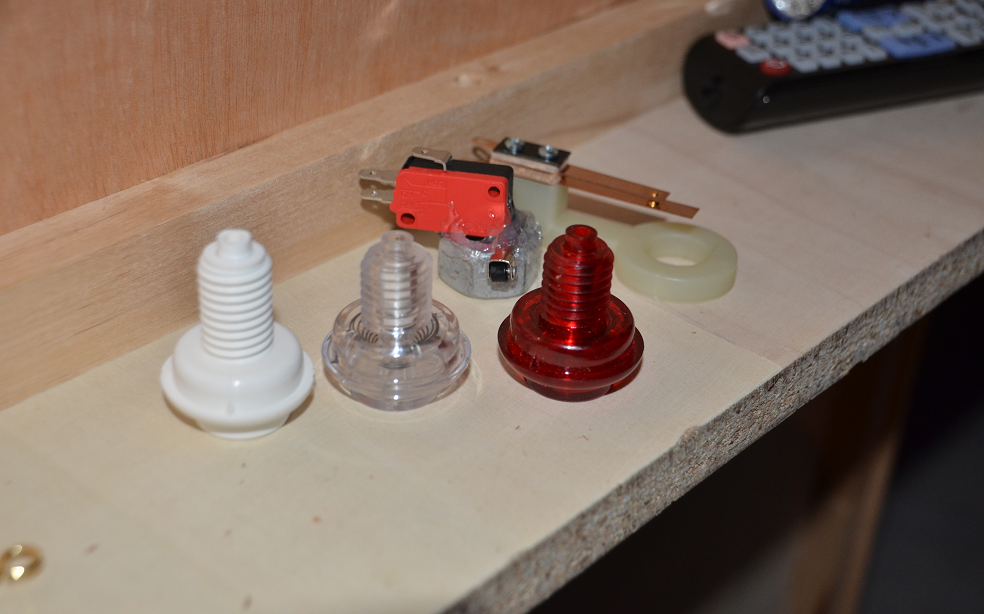
So I started off getting 20 micro switches to use on the buttons and flippers. The micro switch has three connectors, one for ground, one for always open and one for always closed. Not sure why someone would wire up the always closed, click to open but who knows. So with these a build a contraption to allow my flipper buttons to securely trigger the closed connection and then wire that up to the iPac2 board to fire a keyboard key. Here is a picture of the first micro switch with custom adapter I built:

I plan on using micro switches for the control buttons, launch ball, credit, start, etc since I like the click sound and the are reliable. But I decided to order leaf switched for the flippers. Leaf switched are quitter than micro and will feel more like real pinball machine flippers, since they are the ones used in the original machines.
I plan on using a spare PC power supply to light up the buttons. On the power supply you have to connect the green line to the black line next to it to close the connection normally used for the power switch when it is connected to a pc motherboard. Once the power supply comes on, you can use the following line colors for power:
- Orange 3.5 Volts
- Red 5 Volts
- Yellow 12 Volts
Be careful not to use too high a voltage or you will heat up the bulb and burn it out!
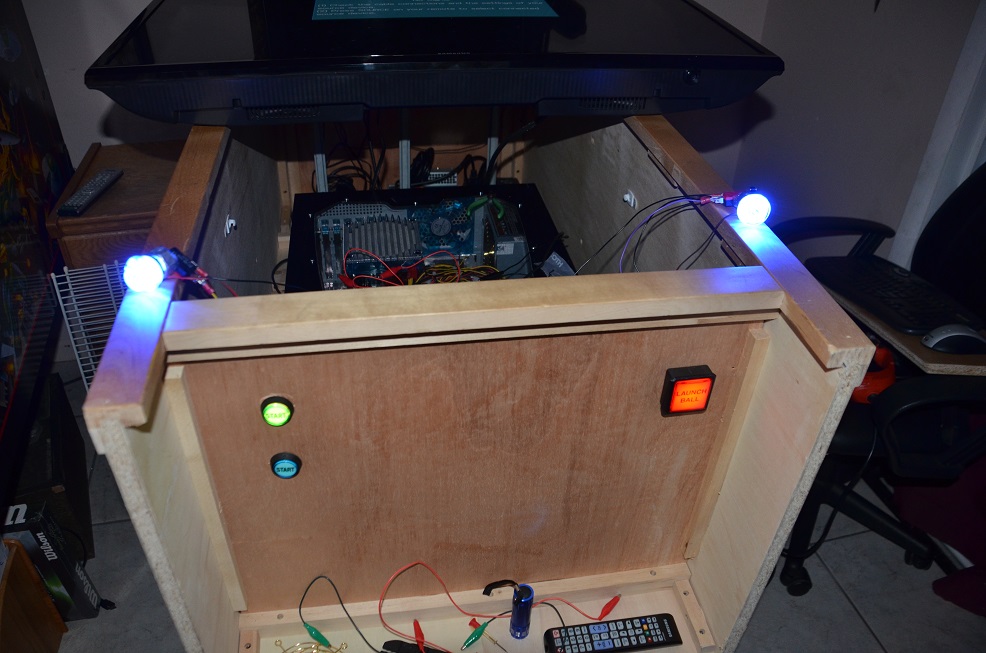
I was able to install the three control buttons and lights on the front of the cabinet.
Launch ball, using 5 volts and setup as Enter key on the iPac2,
Start Green, 5 Volts and set to 5 key for enter Credit
Start Blue, in pic setup with 5 volts but need to run 12 since it looks green in the lower voltage, set to 1 for start game
The blue flipper buttons are working! but not drilled yet, long story, this has been a painful step!
Left flipper is set to left shift, right to "v" since the ipac 2 does not have a right shift default. Need to reprogram that connection to right shift. That was easier than I thought it would be.
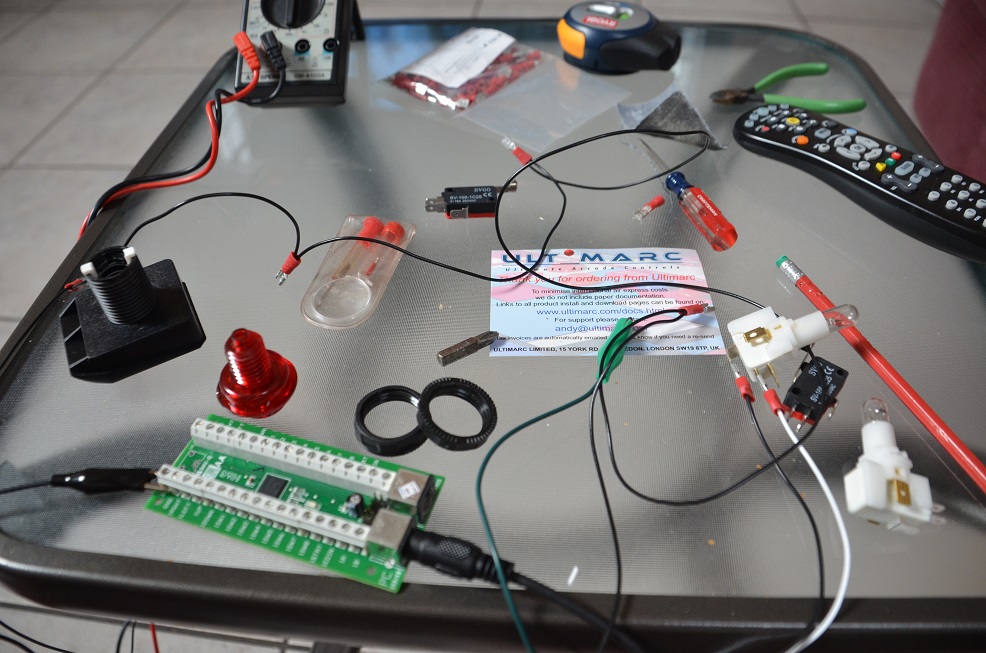
I ordered the hardware, flipper buttons, switches, keyboard emulator and lights from a couple of different sites I found.
I'm going to put all the links on this site, under a links page.
Here is a link to a bunch of pictures of the cabinet and some of the hardware I ordered.
http://1drv.ms/1mlPKvB